Vray

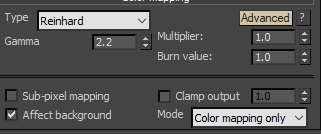
By default V-ray Reinhard Colour Mapping is set like this:
When set above the total render time was 10min08sec on i7-4900MQ 4 core CPU laptop the rest following Solidrocks Good settings using irradiance map and light cache.
With the Clamp output ticked and set to 1.0 then the render time was reduced to just 4minutes 58 seconds. The image looks identical.
With Burn Value set to 0.75 then the rendering time reduces to 4 minutes 20seconds.
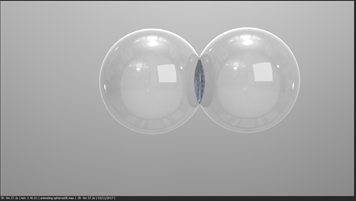
But brighter parts of the image are duller with the Burn Value put to 0.75:
read more
Click here for this information as a Vray Learning PDF.
This is a comparison of a simple 3ds max scene that has different background setups. All the way through Vray Advanced 3.4 GI was set to Brute Force, Brute Force at the same low-quality setting. It was lit by a Vray Dome Light with HDRI in the texture slot and one Vray plane light which is the square that can be seen in the reflections.
No MeshBackground (just the HDRI dome light is showing in the background): Low-quality Brute Force/ Brute Force render time is 37sec @ 1280 720
Photography Background (cylinder encompassing the whole scene with open top meshsmoothed so that there is an even transition from vertical to horizontal. Vray settings Low Brute Force / Brute Force 1280 720. Vray Properties of the Photography Background object have set to GI off. This gives a render time of 6min 15 sec.
Background White Plane with Radial Opacity render time is 3min.
Background White Plane with Radial Opacity turn off: Visible to GI, Visible in reflections, Visible in Refractions for the plane in Vray properties. This gives a render time of 2min 15s
Background White Plane with Radial Opacity. Turn off Visible to GI, Visible in reflections, Visible in Refractions and Generate and Receive GI 1min 40s

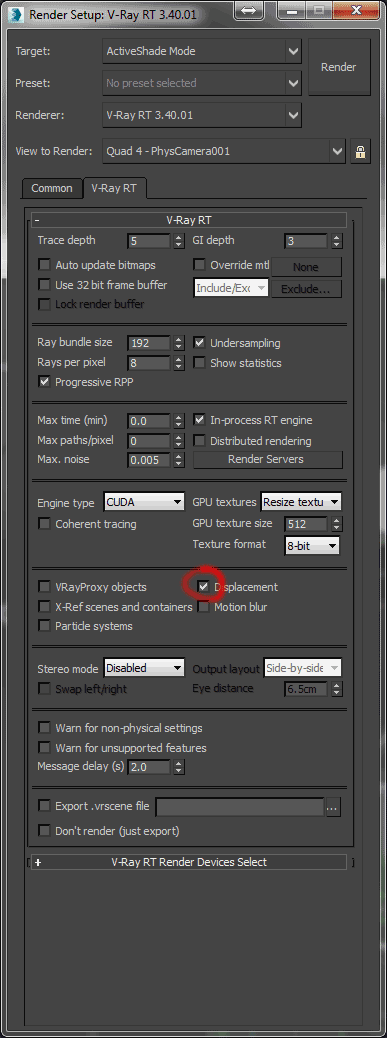
To get the Vray RT Activeshade renderer to display displacement maps you’ve assigned to objects with the Vray displacement modifier make sure the Displacement box is ticked in Render Setup under Active Shade/V-ray RT as shown.
Turn up the Amount on the Vray Displacement modifier to an extreme value to make sure the effect is very obvious.


